25 December, 2024
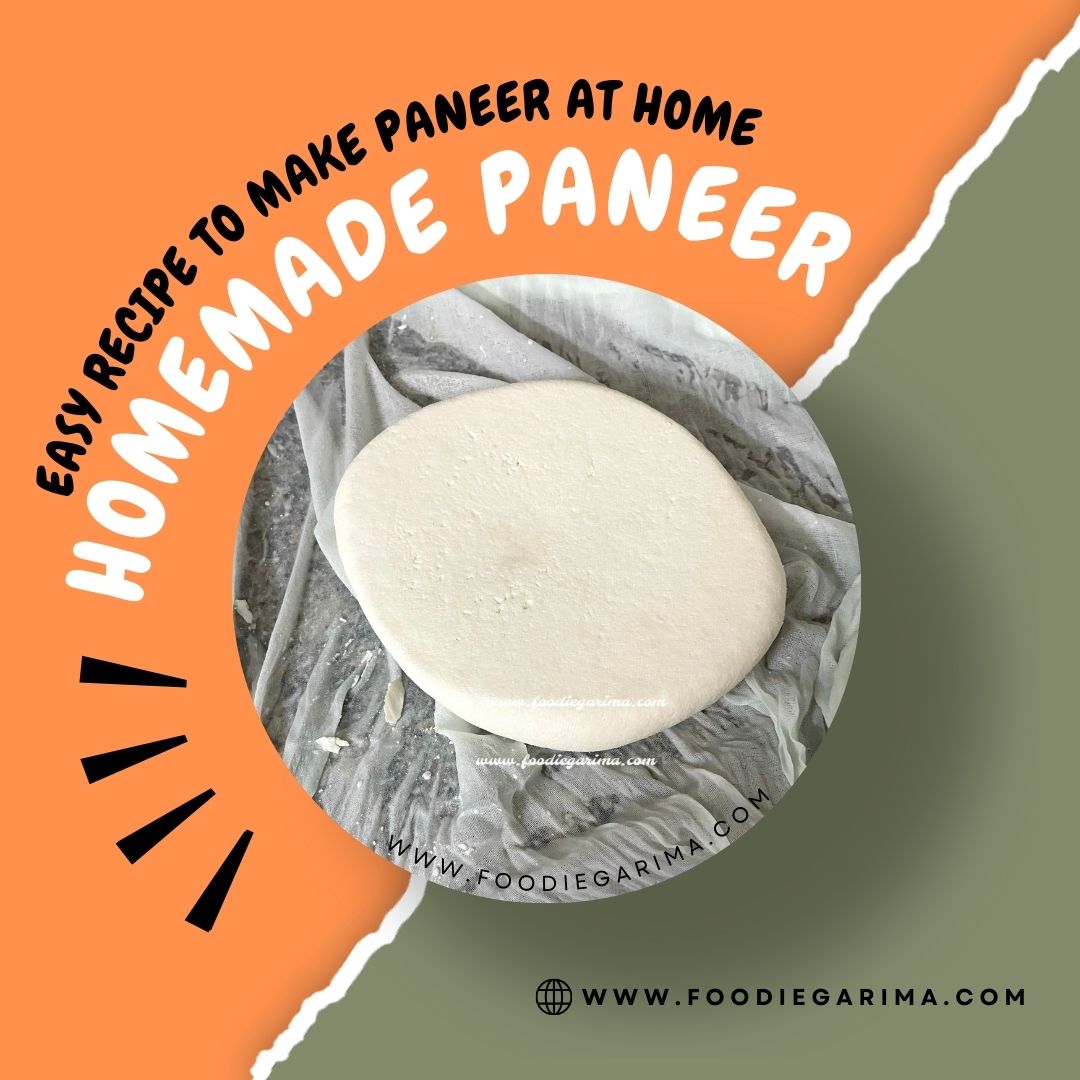
Homemade Paneer Recipe | Fresh, Creamy Cheese

Homemade Paneer: A Simple Recipe for Fresh, Creamy Cheese
Paneer is a soft, fresh Cheese commonly used in Indian cuisine. It’s beloved for its mild flavor, ability to absorb spices, and versatility in various dishes. Paneer is an essential ingredient in popular recipes like Paneer Butter Masala, Palak Paneer, and Paneer Tikka. Making Paneer at home is surprisingly easy and ensures you get fresh, creamy Cheese without any preservatives. This homemade version is perfect for those who want to enjoy the full flavor and texture of Paneer without the store-bought variety.
Why Make Paneer at Home?
- Freshness: Homemade Paneer is always fresh, without the preservatives or additives you might find in store-bought versions.
- Customization: You can control the texture, whether you prefer soft or firmer Paneer.
- Purity: Homemade Paneer contains no artificial ingredients and is made with minimal resources.
Ingredients for Homemade Paneer
(For approximately 250 Grams Paneer)
| 2 Litres Full Fat Milk |
| 2 – 3 tsp Vinegar or Lemon Juice |
| 2 – 3 tsp Water |
Notes:
- Milk: Use fresh, whole milk (Cow’s or Buffalo’s Milk) for the creamiest texture. Use buffalo milk for a richer, creamier result.
- Lemon Juice or Vinegar: This acts as the acid to curdle the milk.
- Water: 1/4 cup (To dilute the lemon juice or vinegar)
Tools You’ll Need:
- A large and heavy-bottomed saucepan or pot
- A strainer or colander
- A cheesecloth or muslin cloth (or a clean kitchen towel)
- A heavy weight or object for pressing (e.g., a small pot or jar)
Step-by-Step Guide to Making Paneer at Home

Step 1: Boil the Milk
- Start by pouring the milk into a large and heavy-bottomed saucepan or pot.
- Bring the milk to a boil, but make sure to keep an eye on it, as milk tends to overflow quickly once it boils.
Step 2: Add the Acid (Lemon Juice or Vinegar)
- Once the milk comes to a boil, reduce the heat to low.
- Add the lemon juice or vinegar to the boiled milk. If you are using Vinegar, then dilute it with equal parts of Water and use the diluted Vinegar.
- You’ll notice the milk starting to curdle and separate into cheese-like mass or Paneer (solid) and whey (greenish liquid). If the milk doesn’t curdle right away, you can add a little more lemon juice or vinegar, but do so slowly. Keep stirring gently until the milk is fully curdled.
At this point, you should see clear whey (the greenish liquid) and the cheese-like mass or Paneer (the solid).
Step 3: Strain the Paneer and Whey
- Once the milk is fully curdled or the whey is separated completely, take the pot off the heat.
- Place a strainer over a large bowl.
- Pour the curdled milk through the strainer, collecting the whey in the bowl beneath. The Paneer will remain in the strainer.
If you want to save the whey, it can be used in soups, curries, or smoothies. It’s full of nutrients!
Step 4: Rinse the Paneer
- To remove any residual acidity from the lemon juice or vinegar, gently rinse the Paneer under running water. This will also help firm up the paneer and cool it down, making it easier to handle.
Step 5: Tie the Muslin Cloth and Drain Excess Water
- Once rinsed, keep the Paneer aside in a muslin cloth.
- Gather the corners of the muslin cloth or cheesecloth and form a pouch around the Paneer.
- Twist it to secure the Paneer inside and hang it to drain excess whey. You can tie the muslin cloth to a tap or hook to let it hang freely, or you can place it in a colander over the sink. Allow it to drain for about 30 minutes to an hour.
Step 6: Press the Paneer
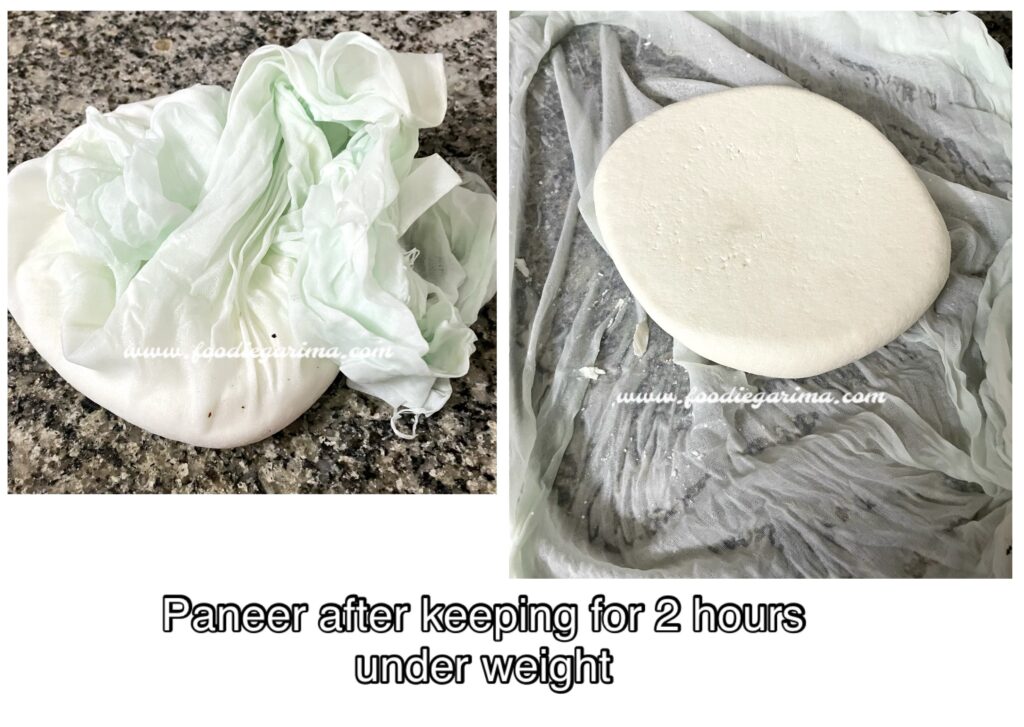
To make the paneer firmer, you need to press it. Place the muslin cloth with the Paneer on a flat surface, and put a heavy weight on top. This could be a small pot, a jar filled with water, or any other heavy object. Press for 1-2 hours depending on how firm you want your paneer.
- For soft paneer, press lightly for 1 hour.
- For firm paneer (ideal for grilling or cubing for curries), press for 2 hours.

Step 7: Unwrap and Cut the Paneer
- After pressing, unwrap the muslin cloth.
- The paneer should now be firm and hold its shape.
- Cut it into blocks, cubes, or slices based on your preference.
Step 8: Store the Paneer
- Homemade paneer is best used fresh, but you can store it in the refrigerator for 2-3 days.
- To keep it fresh for longer, store the paneer in a bowl of water in an airtight container. This helps retain its moisture and keeps it soft.
Tips for Perfect Paneer
- Use full-fat milk for a richer, creamier texture. Skim milk will work but produce a drier, less creamy result.
- Milk quality matters: The fresher the milk, the better the paneer. Fresh, local milk will yield the best results.
- Don’t overheat the milk: Always bring the milk to a gentle boil. High heat can cause the milk to scorch and affect the texture of the paneer.
- Pressing: The longer you press, the firmer your paneer will be. If you’re making it for dishes like Palak Paneer, you may prefer it softer. For grilling or skewering (like Paneer Tikka), press it longer to get a firmer texture.
- Flavoring: If you want to add flavor, you can mix in herbs, spices, or even chopped cilantro before pressing the curdled Paneer. Some people even add a pinch of salt for taste.
Recipes to Try with Homemade Paneer
Now that you’ve mastered making fresh paneer, here are some delicious dishes to try:
- Paneer Butter Masala: Creamy tomato gravy with cubes of paneer.
- Palak Paneer: A spinach-based curry with cubes of paneer.
- Paneer Tikka: Marinated paneer cubes grilled to perfection.
- Paneer Paratha: Stuffed flatbreads with spiced paneer filling.
Making homemade Paneer is a simple and rewarding process that can elevate your cooking. Fresh, soft, and creamy Paneer can transform everyday meals into a gourmet experience. Whether you use it in curries, grilled dishes, or even desserts like Rasgulla or Sandesh, homemade Paneer is sure to become a staple in your kitchen. Try making it today and enjoy the rich, authentic taste of fresh paneer right at home!